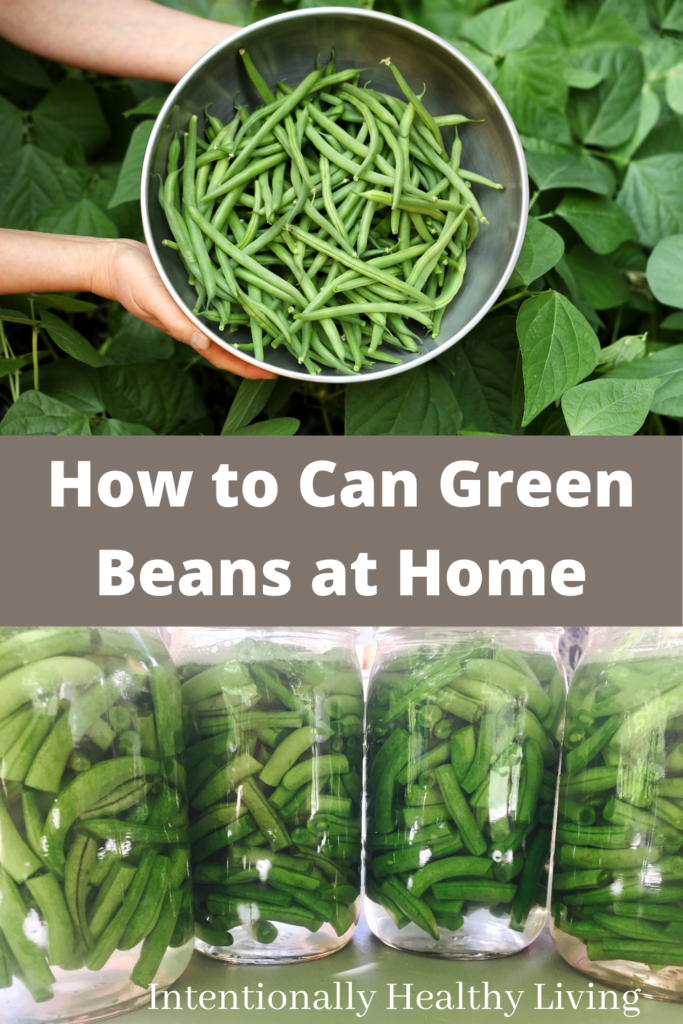
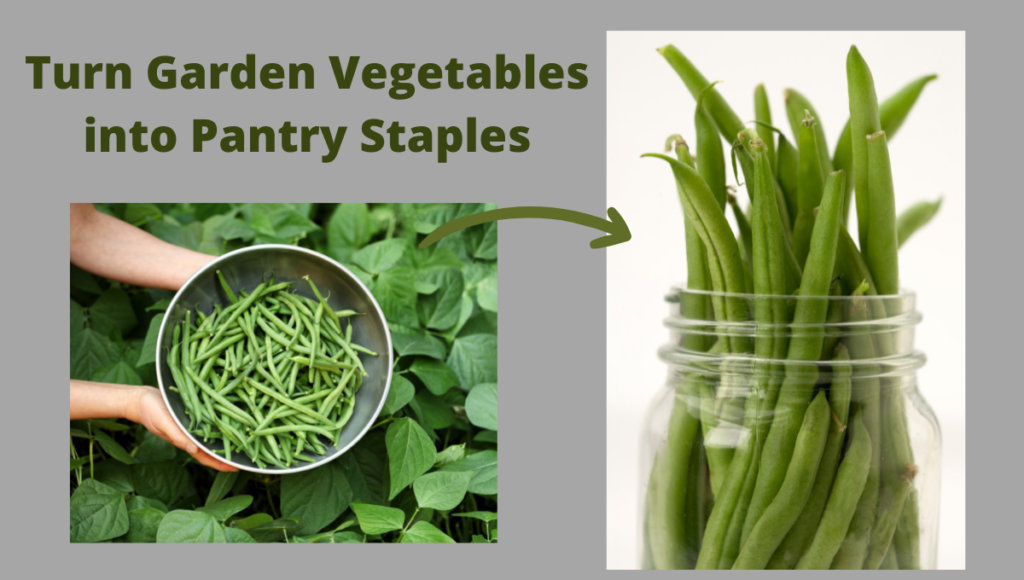
Preserving summer vegetables is a wonderful way to enjoy the garden vegetables year-round. Looking at your home canned items in the pantry does bring a sense of fulfillment! Let’s learn how to can green beans!
This post may contain affiliate links.
When you want navigating food allergies and food intolerances check out Joyfully Living with Food Allergies. This ebook is a survival guide for menu planning, traveling and navigating holidays with food allergies.
Pick Your Green Beans
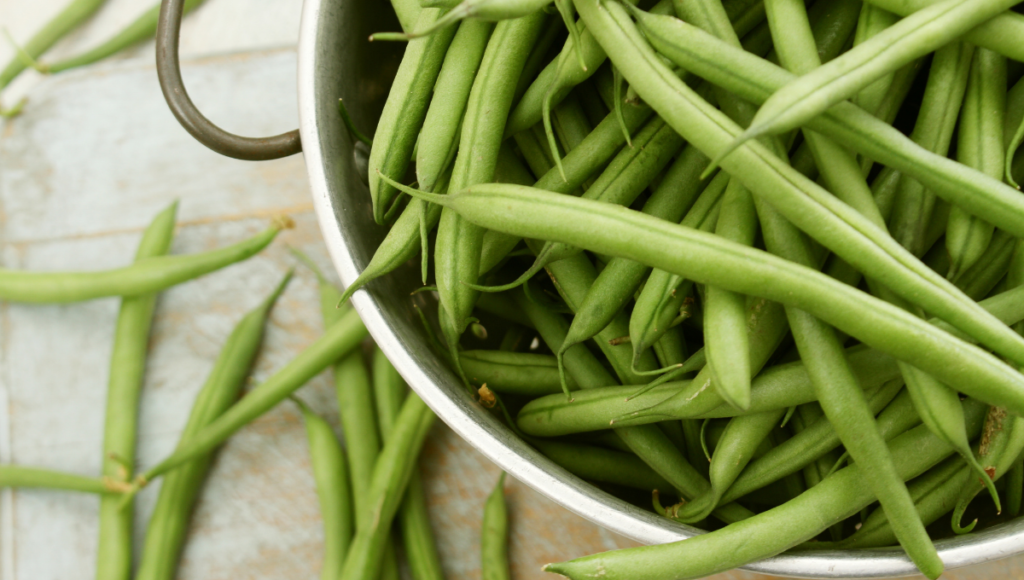
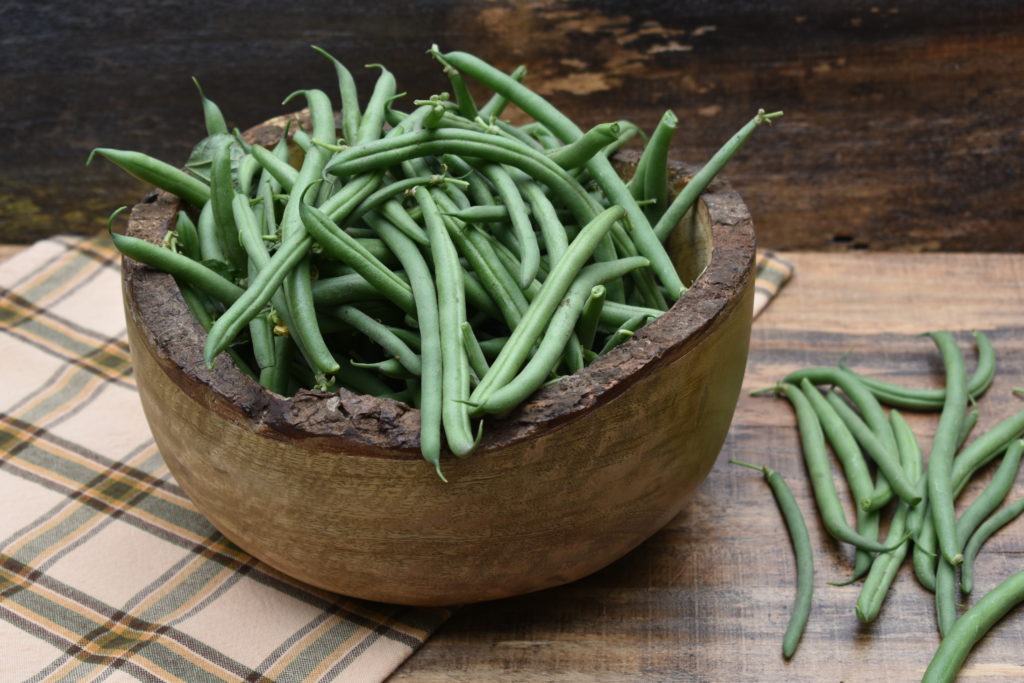
In the mid-west green beans are ready for picking at the beginning of summer. We look forward to visiting the farmers market to purchase fresh local produce. This week the mission was to find freshly picked young green beans.
The best green beans for canning are ones that have been harvested either that morning or the evening before the market. We are thankful to be part of local organic CSA share. When the green beans show up that week, we know it’s time to get the canner ready.
Green beans are nutrient packed and benefits our body with better vision, digestive processes, and healthier bones.
Beginner’s Guide to Canning: 90 Easy Recipes by Diane Devereux
Five reasons to Can Your Food:
- You met the farmer or grow them yourself
- Canning fresh produce preserves more nutrients
- Consuming food from glass jars is healthier then grocery store canned items
- Sense of accomplishment
- You are better prepared for an emergency
Green beans are not on the “Dirty Dozen” or the “Clean 15” list. When possible grow organic vegetables or purchase from a local farmer.
Benefits of Green Beans
- contains a high level of flavonoids, which reduce the risk of heart disease
- concentrated amounts of dietary fiber and protien
- good source of vitamin K, C, and B vitamins
- contain trace minerals; including copper, chromium and iron
- contributes chlorophyll to your diet
Hopefully this post will encourage you to preserve green beans for year-round consuming. It is comforting to know that I have green beans stocked in the pantry. Home canned goods come in handy when you run out of fresh produce, or need a warm vegetable to compliment your meal.
Another benefit for us; it is one vegetable that everyone in the family enjoys!
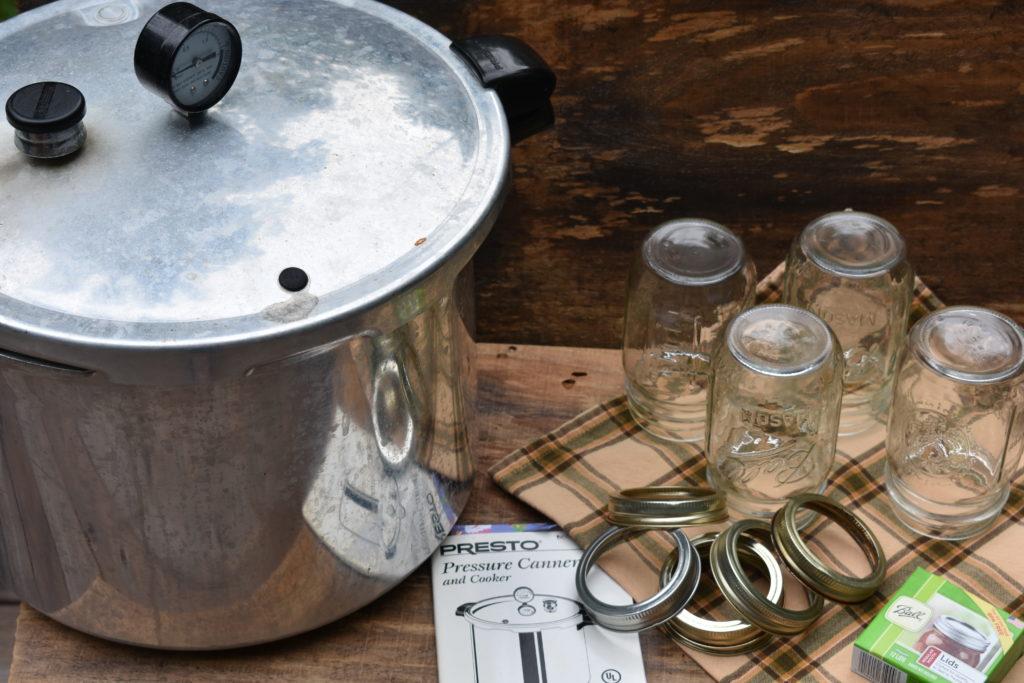
My pressure canner name brand is Presto. Yes, I am one of the those people that keep the manufacturers instructions and refer back to it every time I use my pressure canner.
I mark the pages that I like to refer back to and underline the amount of pressure needed for our favorite canned goods. Please take a moment to follow the instructions that come with your canner, as some have specific steps you must follow.
Fore Easy & Safe Canning: Presto 16 quart Pressure Canner, Silver
Printable Recipe – Simple Guide to Canning Green Beans

How to Can Green Beans
Ingredients
- 5-6 quarts freshly picked green beans
- 1 quart boiling water
- 7 new canning lids
- 8 pints regular canning jars sterilized
- 1 pressure canner
Instructions
-
Gather all your supplies. Including your pressure canner manual.
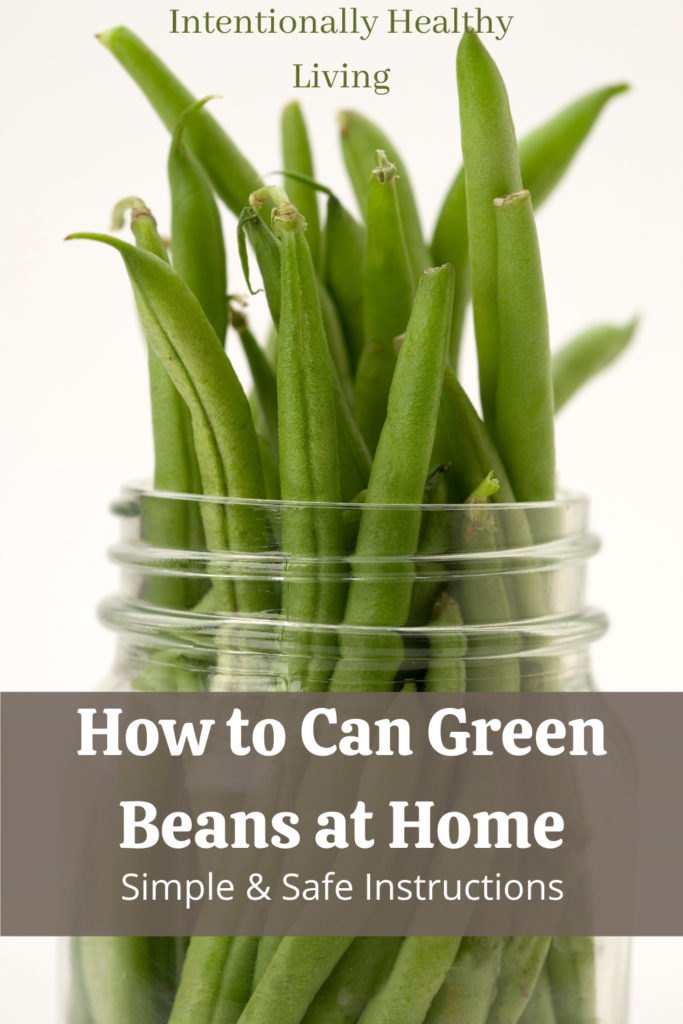
Wash young, tender green beans thoroughly. Remove any stems, blossoms, dirt, or “strings”. Leave the beans whole or cut into 1.5″ pieces.
-
Place your lids in a small saucepan, and cover with warm water. Place over heat and bring to a boil. At the same time, heat one quart of water in a tea kettle or large saucepan.
-
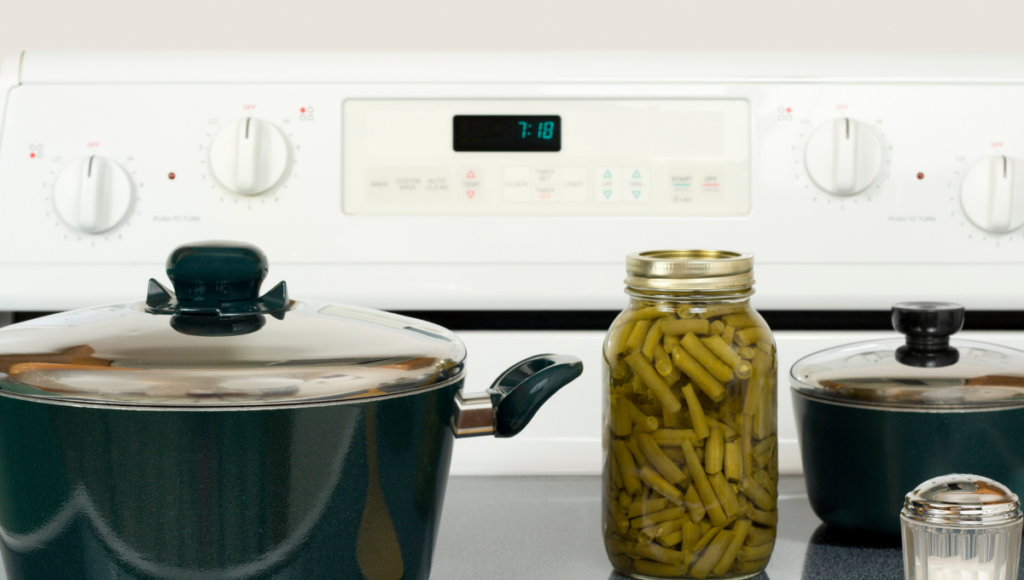
Place your pressure canner on the stove top and add 3 quarts of warm water.
-
Pack raw beans tightly in clean Mason or Kerr style jars, intended for pressure canning. Leave 1″of head space. Fill the jasr with beans.
-
Cover with boiling water from the tea kettle, remember to leave 1″ head space.
-
Wipe down the rims of the jars with a clean dry cloth. Using a fork, remove the jar lids from the boiling water and place one on each jar. Secure with a clean ring.
-
Carefully place the full jars into the canner. Most canners will hold between 7-9 regular size canning jars. (Note: if you use wide mouth canning jars, you will fit 7 jars.)
-
Turn up the heat on the canner, and secure the lid. PLEASE follow the directions in your Pressure Canner Instruction Manual. A Presto Pressure Canner was used for this recipe.
-
Once the weight is placed on the lid, the pressure will increase. Pressure can green beans at 11 pounds pressure for 20 minutes. PLEASE see your manual if you live at an evaluation above 2,000 feet.
-
Adjust the heat accordingly to keep the pressure around 10-11 pounds of pressure. After 20 minutes, shut off the heat. Let the pressure decrease naturally. Once the canner is at 0 pressure remove the weight and set your timer for 10-15 minutes.
-
Remove the lid off the canner. PLEASE be careful and make sure to direct the hot steam away from your face. Use a canning tool to grab the hot jars and remove them from the canner to a cooling rack.
-
Cool on the rack for at least 12 hours. Once cool, test the tops to be sure the lids all made a seal. Label with the date they were canned. Remove the rings for storage.
-
Store in a cool pantry out of direct sunlight. The green beans are best if used within one year of the canning date. Excellent job!!!!!
PINT SIZE JARS: Ball Regular Mouth Pint Canning Jar with Lids & Rings
QUART SIZE JARS: Ball Wide Mouth Quart Canning Jars with Lids & Rings
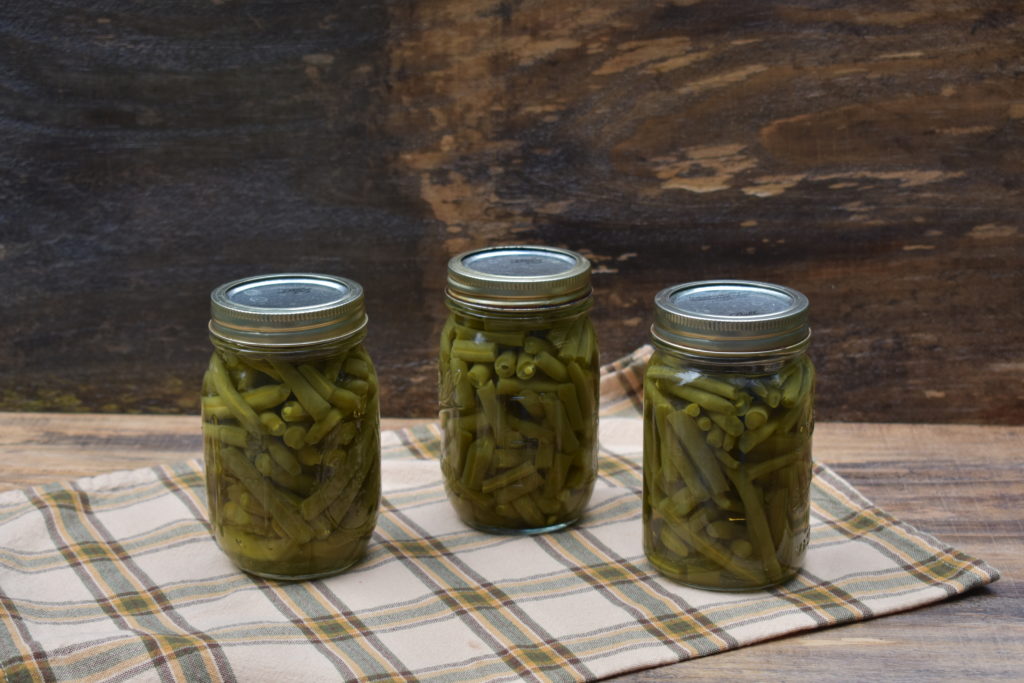
Green beans can be placed in the canning jar whole or in 2″ pieces. I prefer to do a few jars of each style.
Now that you have read how easy it is to home can vegetables, why should you go through the trouble when you can buy canned vegetables at your local grocery store? I always encourage consuming fresh vegetables, however that is not always possible when you live in the mid-west and other parts of the country.
Follow These Simple Steps for Success
- Begin with checking over your canning supplies, make sure your canner is in good shape and comes with instructions. Double check that you have sterilized glass jars intended for home canning and clean new lids.
- Purchase or pick fresh young tender green beans. Clean your green beans and follow the above instructions for preparing and canning your green beans. Use quart size jars when you are serving more people.
- You will need to increase your canning time according to your pressure canner instructions. Remember to mark the top of your lids with the date that they were canned. Store your canned goods in a dark cool pantry.
Canning Supplies Start Kit – Tools (funnel, tongs, jar lifter, labels, ladle, and bubble releaser.
My hope is that you will be comfortable canning vegetables in your home. At the end of the day you can feel successful. It is also a wonderful skill to pass down to your children. If you have any questions, please comment below and I will try my best to answer them.
Our family heats up the green beans in a small sauce pan before serving them for dinner. We add a little bit of organic butter or olive oil and sprinkle with Real Salt. How do you like to enjoy your green beans?
Pursing Better Health Together,